About
Drawing
Painting
Photography
Objets Dérivés & Sculptures
Ideal Artist House
Artist in the Bush
Digital work
Other work
Friends
Shop
Contact
News
Menu
About
Drawing
Painting
Photography
Objets Dérivés & Sculptures
Ideal Artist House
Artist in the Bush
Digital work
Other work
Friends
Shop
Contact
News
×
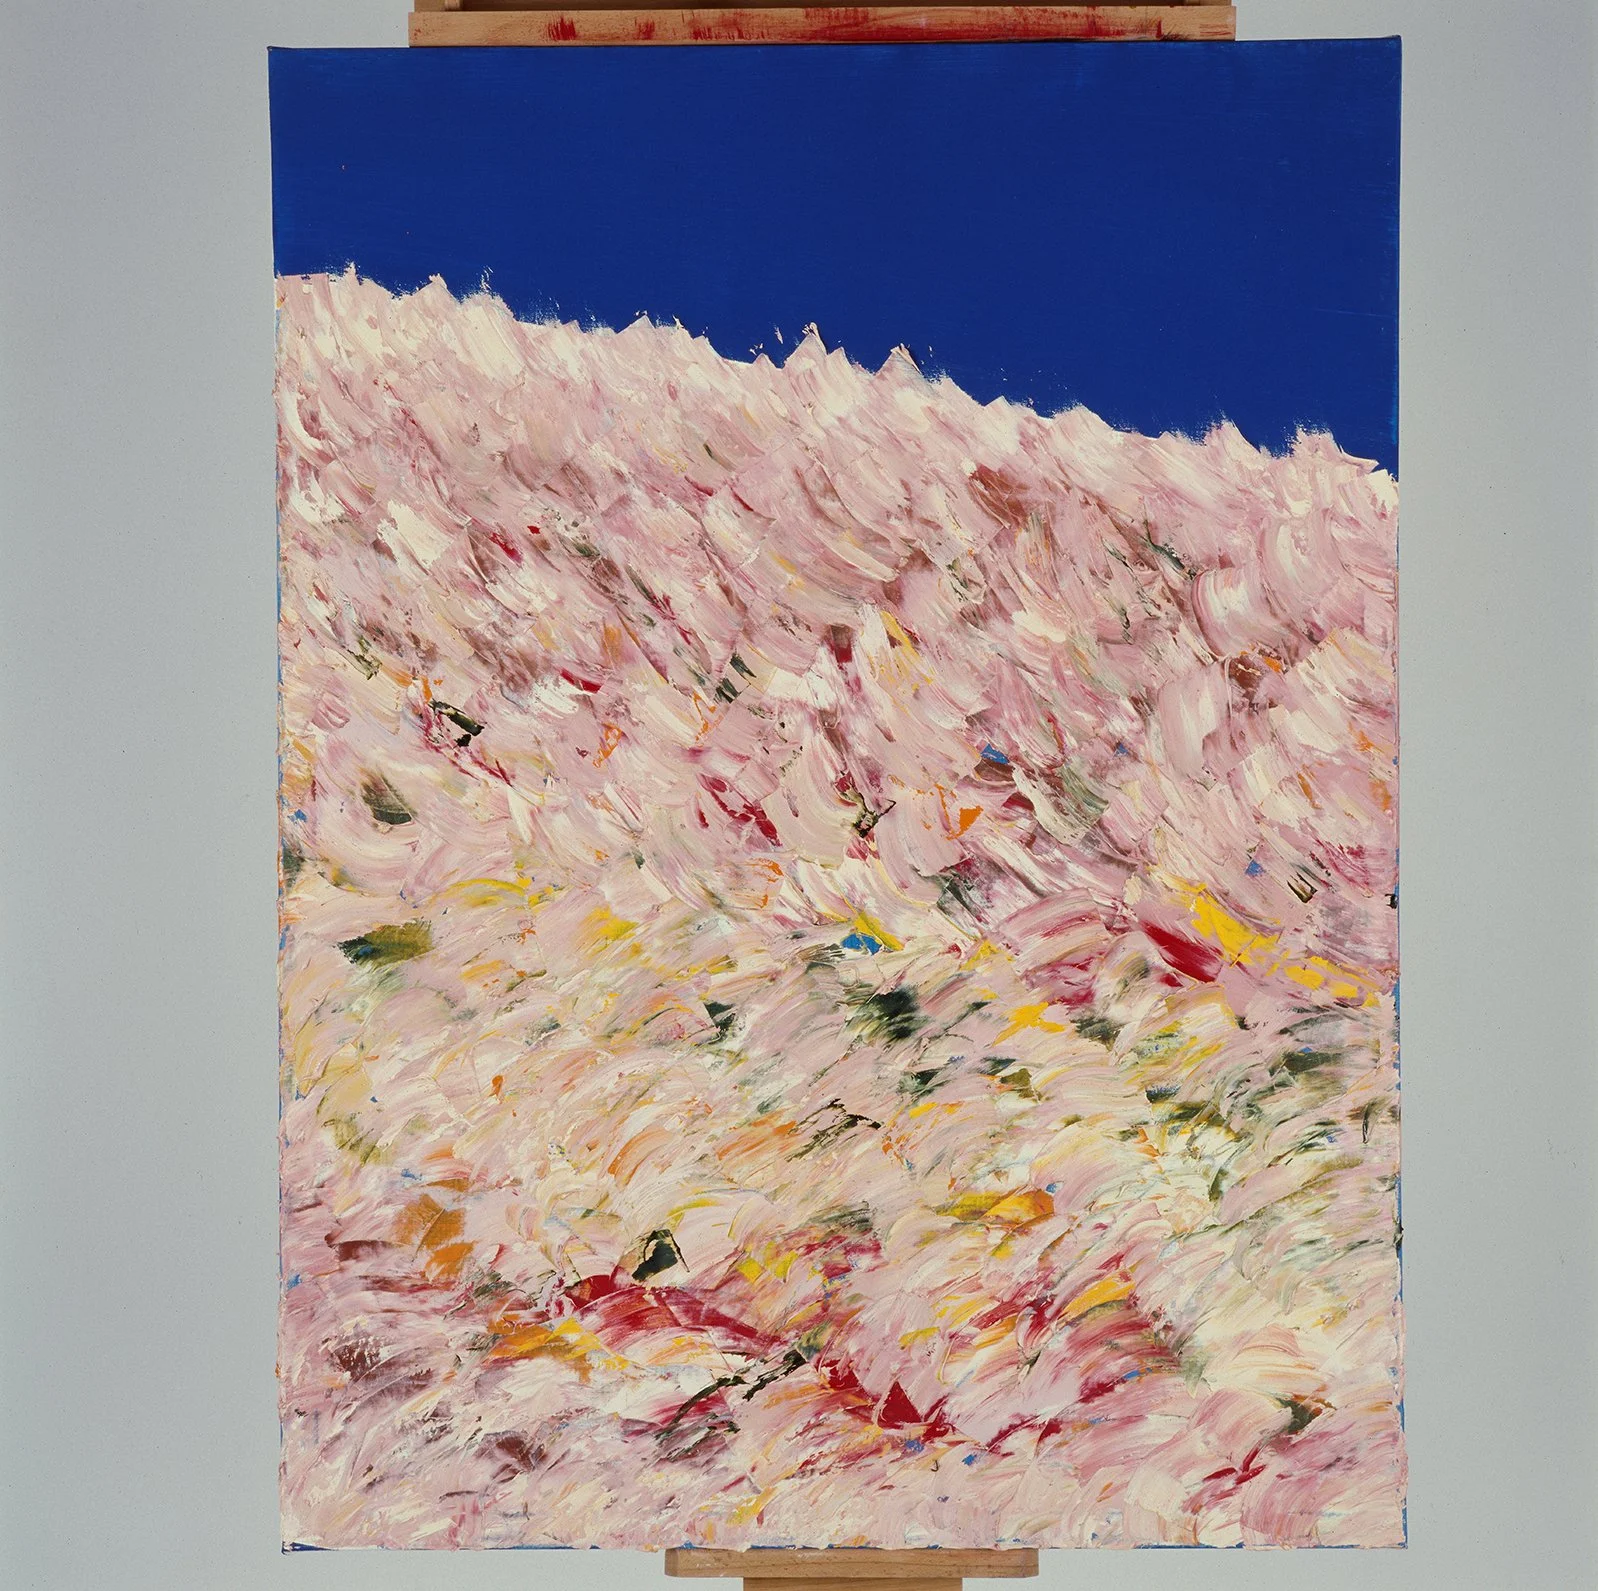
From the Varick Street Series (NYC-studio)
View fullsize
From the Varick Street Series I
View fullsize
From the Varick Street Series II
View fullsize
From the Varick Street Series III
View fullsize
From the Varick Street Series IV, Lightrays
View fullsize
Light Rays in parts Series I - I
View fullsize
Light Rays in parts Series I - II
View fullsize
Light Rays in parts Series I - III
View fullsize
Light Rays in parts Series I - IV
View fullsize
Light Rays in parts Series I - V
View fullsize
Light Rays in parts Series I - VI
View fullsize
Light Rays in parts Series II - I
View fullsize
Light Rays in parts Series II - II
View fullsize
Light Rays in parts Series II - III
View fullsize
Light Rays in parts Series II - IV
View fullsize
Light Rays in parts Series II - V
View fullsize
Light Rays in parts Series II - VI
View fullsize
From Grey to Colour & Vice Versa - I
View fullsize
From Grey to Colour & Vice Versa - II
View fullsize
From Grey to Colour & Vice Versa - III
View fullsize
From Grey to Colour & Vice Versa - IV
View fullsize
From Grey to Colour & Vice Versa - V
View fullsize
From Grey to Colour & Vice Versa - VI
View fullsize
From Grey to Colour & Vice Versa - VII
View fullsize
From Grey to Colour & Vice Versa - VIII
View fullsize
From Grey to Colour & Vice Versa - IX
View fullsize
From Grey to Colour & Vice Versa - X
View fullsize
From Grey to Colour & Vice Versa - XI
View fullsize
From Grey to Colour & Vice Versa - XII
View fullsize
From Grey to Colour & Vice Versa - XIII